How to Make a Camping Fire? A Practical Guide That Actually Helps
This camping fire guide explains how to build, manage, and extinguish a campfire safely. It covers what materials you need, which campfire structures work best, how to avoid common beginner mistakes, and what to do when campfires are banned. The article also includes practical no-fire camping solutions and recommended UDPOWER products for lighting, charging, and off-grid convenience.
A good camping fire is small, controlled, easy to light, and easy to kill completely. That sounds simple, but most campfire problems happen before the match even comes out: people skip the fire rules, use damp wood, pile on logs too early, or walk away before the coals are truly cold.
This guide walks you through the whole process in plain English: where to build, what wood to use, which fire shape works best, how to keep the flame steady, and how to put everything out the right way. You’ll also find a no-fire backup plan for nights when restrictions are in place, including quiet off-grid power options from UDPOWER that fit camping use naturally. If you’re also planning the rest of your campsite setup, our tent camping guide and camping rules guide are both useful follow-up reads.

Before you start: make sure a fire is allowed
The first move is not gathering wood. It’s checking the rules for your exact campground, forest, park, or public land unit. Fire bans and restrictions can change quickly, and official agencies consistently recommend checking before you go.

| What to check | Why it matters | Where to verify | Source |
|---|---|---|---|
| Fire bans or restrictions | A legal fire yesterday can be banned today if conditions change. | Campground page, park page, ranger district alerts | NPS · USFS |
| Where fires are allowed | Many places allow fires only in designated rings, grills, or fireplaces. | Campground rules or land manager page | REI Expert Advice · USFS |
| Firewood rules | Some areas restrict collecting wood or want you to buy local wood only. | Campground rules, recreation listing, park site | NPS firewood guidance |
| Permit requirements | Some areas may require permits for campfires, charcoal, or stoves depending on local restrictions. | Forest, park, or public land rules page | USFS fire guidance |
Bottom line: if the rules look unclear, ask the campground host or ranger station before you light anything.
If you want a broader look at campsite etiquette, quiet hours, reservation basics, and common outdoor safety rules, see UDPOWER’s Camping Rules Guide. If you’re newer to overnight camping in general, the Tent Camping Guide pairs well with this fire guide.
A smart rule for beginners: if it’s windy, extremely dry, brushy, or the site makes you feel even slightly unsure, skip the fire. A small fire you don’t build is safer than a perfect fire built in the wrong conditions.
What you need for a good campfire
You do not need a giant pile of logs. You need the right layers and a safe setup. Official camping guidance keeps coming back to the same basics: a proper fire area, three wood sizes, a way to light the tinder, and water plus a shovel within reach.

- Existing fire ring, grill, or designated fire space
- Tinder: small dry material that catches first
- Kindling: finger-size sticks that build the flame
- Fuel wood: larger pieces that keep the fire going
- Match or lighter
- Bucket of water and a shovel before you light up
| Item | What it does | Good beginner choices | Avoid | Source |
|---|---|---|---|---|
| Tinder | Starts the fire fast | Dry twigs, dry needles, commercial fire starter, paper-based starter | Wet leaves, green plant material, bulky chunks | REI |
| Kindling | Turns a spark or small flame into a real fire | Dry sticks under about 1 inch thick | Fresh cut branches, damp bark-heavy pieces | REI |
| Fuel wood | Provides longer burn and steady heat | Split dry firewood that fits fully inside the ring | Oversized logs hanging out of the fire ring | USFS |
| Water + shovel | Lets you control flare-ups and extinguish properly | Keep both next to the ring before lighting | Trying to “figure it out later” | USFS |
The best wood for camping fires
The best campfire wood is dry, local, and already down. It lights easier, burns cleaner, and creates less frustration. It also helps protect the place you’re camping in.

| Wood rule | What to do | Why | Source |
|---|---|---|---|
| Buy local | Buy firewood near where you will burn it. | Moving wood long distances can spread invasive pests. | NPS · USFS |
| Use dead and down wood only | Only collect wood already on the ground if the site allows collection. | Standing or live wood damages habitat and usually burns poorly. | USFS |
| Keep pieces modest | Use split wood or smaller pieces that fit completely inside the ring. | Better airflow, easier control, less smoke, safer burning. | USFS |
| Skip wet wood | Choose dry sticks and dry split wood whenever possible. | Wet wood smokes heavily and makes beginners overfeed the fire. | Smokey Bear · REI |
One especially useful NPS tip: get your firewood within about 10 miles if possible, and treat 50 miles as too far in general. That’s an easy habit that protects forests and avoids showing up with wood the campground doesn’t want you to use.
How to build a camping fire step by step
This is the easiest beginner method for a reliable campfire in a standard fire ring. It keeps the flame small, controlled, and easy to adjust.

Step 1: Start with the right spot
Use an existing fire ring or designated campsite fire feature. Clear away loose leaves, duff, and anything else that can catch nearby. Official U.S. Forest Service guidance also recommends scraping away burnable material around the ring and keeping all wood inside it.
Step 2: Lay down your tinder in the center
Make a small loose nest, not a packed ball. Fire needs airflow. If you crush the center too tight, your flame will struggle before it starts.
Step 3: Add kindling over the tinder
Arrange small dry sticks around the tinder with gaps between them. Think “breathable” rather than “solid.” Most failed campfires are really airflow problems.
Step 4: Add a few small fuel pieces, not big logs
At this stage, lighter pieces win. Don’t drop two giant logs on top of a weak flame and wonder why it dies. Let the smaller wood establish a hot core first.
Step 5: Light the tinder at more than one point if needed
Use a lighter or match to catch the driest edge of the tinder. Once the flame begins, blow lightly at the base. Gentle airflow helps. Aggressive blowing usually scatters ash and kills the start.
Step 6: Feed the fire gradually
Add wood only when the previous layer is burning well. A camping fire is not a wood dump. It should grow in stages. Small additions keep it stable and easier to cook over.
Step 7: Keep it small
Small fires are easier to enjoy, easier to cook over, easier to put out, and far less likely to throw sparks where you don’t want them. That is the sweet spot for most campsite fires.
Which campfire shape should you use?
You do not need every fire shape people talk about online. For everyday campground use, three structures cover almost everything a normal camper needs.

| Fire shape | Best for | Why it works | Watch out for | Good choice for beginners? | Source |
|---|---|---|---|---|---|
| Teepee | Quick starts, quick warmth | Air moves up through the center, so tinder and kindling catch fast. | Burns fast and may collapse sooner than other layouts. | Yes | REI |
| Log cabin | Steadier flame, easier cooking setup | Cross-stacked sides give structure and reliable airflow. | Needs a little more setup time than a teepee. | Yes | Iowa DNR |
| Pyramid / platform | Longer burn once established | Creates a solid base and can hold heat well. | Can be slower to get going if your tinder is weak. | Sometimes | REI · KOA |
My simple recommendation: start with a teepee if you mostly care about getting the fire going fast, or choose a log cabin if you want a calmer, more cook-friendly fire.
Common campfire mistakes beginners make
Most campfire headaches are predictable. Here’s the short list that saves you time, smoke, and frustration.

| Mistake | What usually happens | Do this instead |
|---|---|---|
| Using damp wood | Heavy smoke, weak flame, constant relighting | Use dry split wood and smaller dry kindling first. |
| Adding big logs too early | The small flame gets smothered | Let the kindling form a hot core before adding larger pieces. |
| Packing the wood too tightly | The fire starves for oxygen | Leave small gaps so air can move through the stack. |
| Building a huge fire | Harder to manage, harder to cook over, harder to extinguish | Keep the fire modest and controlled. |
| Leaving it unattended | One gust can turn a relaxing night into a dangerous one | Stay nearby the entire time and put it out before leaving or sleeping. |
| Assuming dirt alone will put it out | Hidden heat stays alive under the surface | Use water, stir, and repeat until cold to the touch. |
How to put out a campfire the right way
Putting the fire out is not the boring part. It is the part that matters most. Official guidance from Smokey Bear, the U.S. Forest Service, and the National Park Service is very consistent here: use water, stir, keep adding water, and don’t leave until everything is cool to the touch.

1) Let the wood burn down first
Stop feeding the fire early enough that you are not trying to kill a mountain of half-burned logs at bedtime.
2) Drown it with water
Pour plenty of water on the embers and wood. If you still hear hissing, there is still heat.
3) Stir the ashes and coals with a shovel
Mix the wet ash, turn the partially burned wood, and expose hidden hot spots.
4) Add more water and stir again
Don’t do one quick pour and call it a night. Repeat until nothing steams, hisses, or glows.
5) Feel for heat carefully
The ashes, coals, and leftover wood should all be cool to the touch before you leave. If it is warm, it is not done.
Important: don’t rely on dirt or sand alone, and don’t bury the fire. Official guidance warns that buried coals can smolder and re-ignite later.
Sources: Smokey Bear · USFS · NPS
What to do when campfires are banned
A fire ban does not mean the trip is ruined. It just means your campsite plan needs to shift. The National Park Service specifically recommends having a Plan B for light, cooking, warmth, and evening downtime.

| Campfire job | No-fire replacement | Why it works better in restricted conditions | Source |
|---|---|---|---|
| Light | Lanterns, flashlights, campsite string lights, portable power station | No sparks, no smoke, no ground impact | NPS |
| Cooking | Camp stove where allowed | More controlled than an open flame | NPS |
| Warmth | Layers, blankets, dry base layers | More reliable than counting on a fire all night | NPS |
| Evening atmosphere | Headlamps, warm drinks, music at respectful volume, card games | Keeps the campsite social without risking a wildfire | NPS |
This is where a quiet battery setup makes real camping sense. You’re not replacing the feeling of a fire. You’re replacing the useful parts: light, charging, low-noise convenience, and a more organized evening camp routine. If your trip leans more remote than a standard campground weekend, our Off the Grid Camping guide goes deeper on water, power, and day-to-day planning. For the power side, the Battery Runtime Basics guide and the Portable Power Station Runtime Calculator make it much easier to estimate how long your lights, fans, and charging setup will actually last.
UDPOWER picks for no-fire camping nights
If campfire restrictions are in effect, or you just want a cleaner, quieter setup for part of the trip, these UDPOWER products fit naturally into the camping workflow. The specs below are from official UDPOWER product and collection pages.

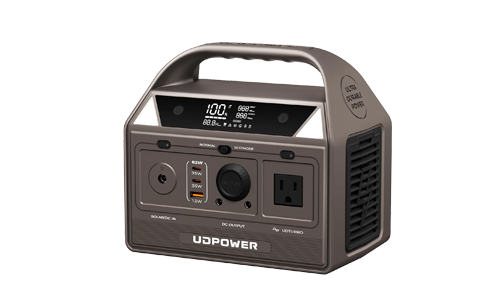
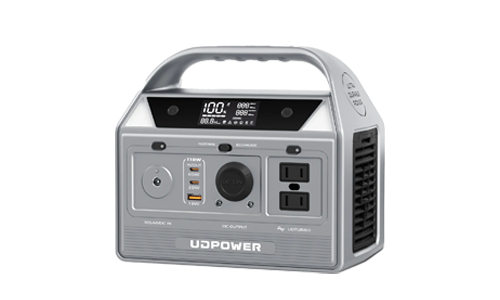
UDPOWER C400
The lightweight pick for minimalist campers. It’s the easiest one here to carry from car to tent table, and it makes sense when you mainly want dependable power for phones, headlamps, cameras, small fans, or a tidy campsite charging station.
| Spec | Value | Why it helps at camp |
|---|---|---|
| Capacity | 256Wh | Enough for everyday device charging and short low-power use. |
| Rated output | 400W | Good fit for basic campsite electronics and small essentials. |
| Weight | 6.88 lb | Easy to move around camp without feeling like a chore. |
| Solar input | Up to 150W | Pairs naturally with compact solar recharging on longer trips. |
Source: UDPOWER collection page

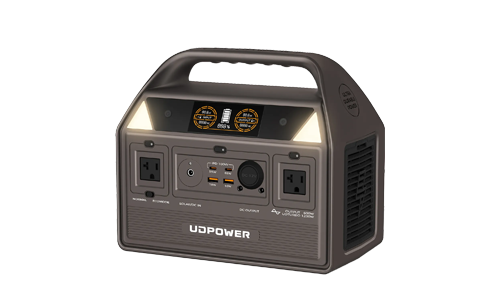
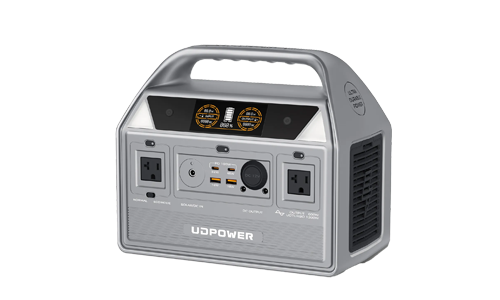
UDPOWER C600
The most balanced camping choice in the lineup for many people. It gives you more breathing room than an ultra-compact unit without getting into bulky home-backup territory. For normal campground use, this is the “bring one box and relax” option.
| Spec | Value | Why it helps at camp |
|---|---|---|
| Capacity | 596Wh | More room for longer evenings, multi-device use, and short appliance sessions. |
| Rated output | 600W | Handles a wider mix of campsite gear than entry-level units. |
| Weight | 12.3 lb | Still portable for car camping and weekend moves. |
| Battery | LiFePO4, 4,000+ cycles | Good fit for repeat weekend use over time. |
| Solar input | Up to 240W | Useful for topping up during longer stays. |
| Noise | Below 30dB | Better for quiet campsites than loud engine-based backup options. |
Sources: UDPOWER C600 product page · UDPOWER collection page

UDPOWER S1200
If your camping setup looks more like a family basecamp, a car-camping weekend with more gadgets, or a longer no-fire trip, the S1200 gives you much more headroom. It also pairs with higher solar input for extended off-grid stays.
| Spec | Value | Why it helps at camp |
|---|---|---|
| Capacity | ~1190Wh | Better for longer nights and heavier overall campsite demand. |
| Rated output | 1200W | Gives you more flexibility for higher-watt gear within spec. |
| Weight | 26.0 lb | Best for car camping rather than ultralight movement. |
| Battery | LiFePO4, 4,000+ cycles | Built for repeated use across many trips. |
| Solar input | Up to 400W | Strong choice for longer off-grid weekends. |
| Fast recharge | 0–100% in 1.5 hours; 420W solar claim 0–100% in 2.8 hours | Useful when your camp window is short and you need power back quickly. |
Sources: UDPOWER S1200 product page · UDPOWER collection page
If you’re deciding between a quiet battery setup and a fuel-powered unit for longer trips, our portable power station vs. generator guide breaks down the real-world tradeoffs in noise, fumes, maintenance, and convenience.
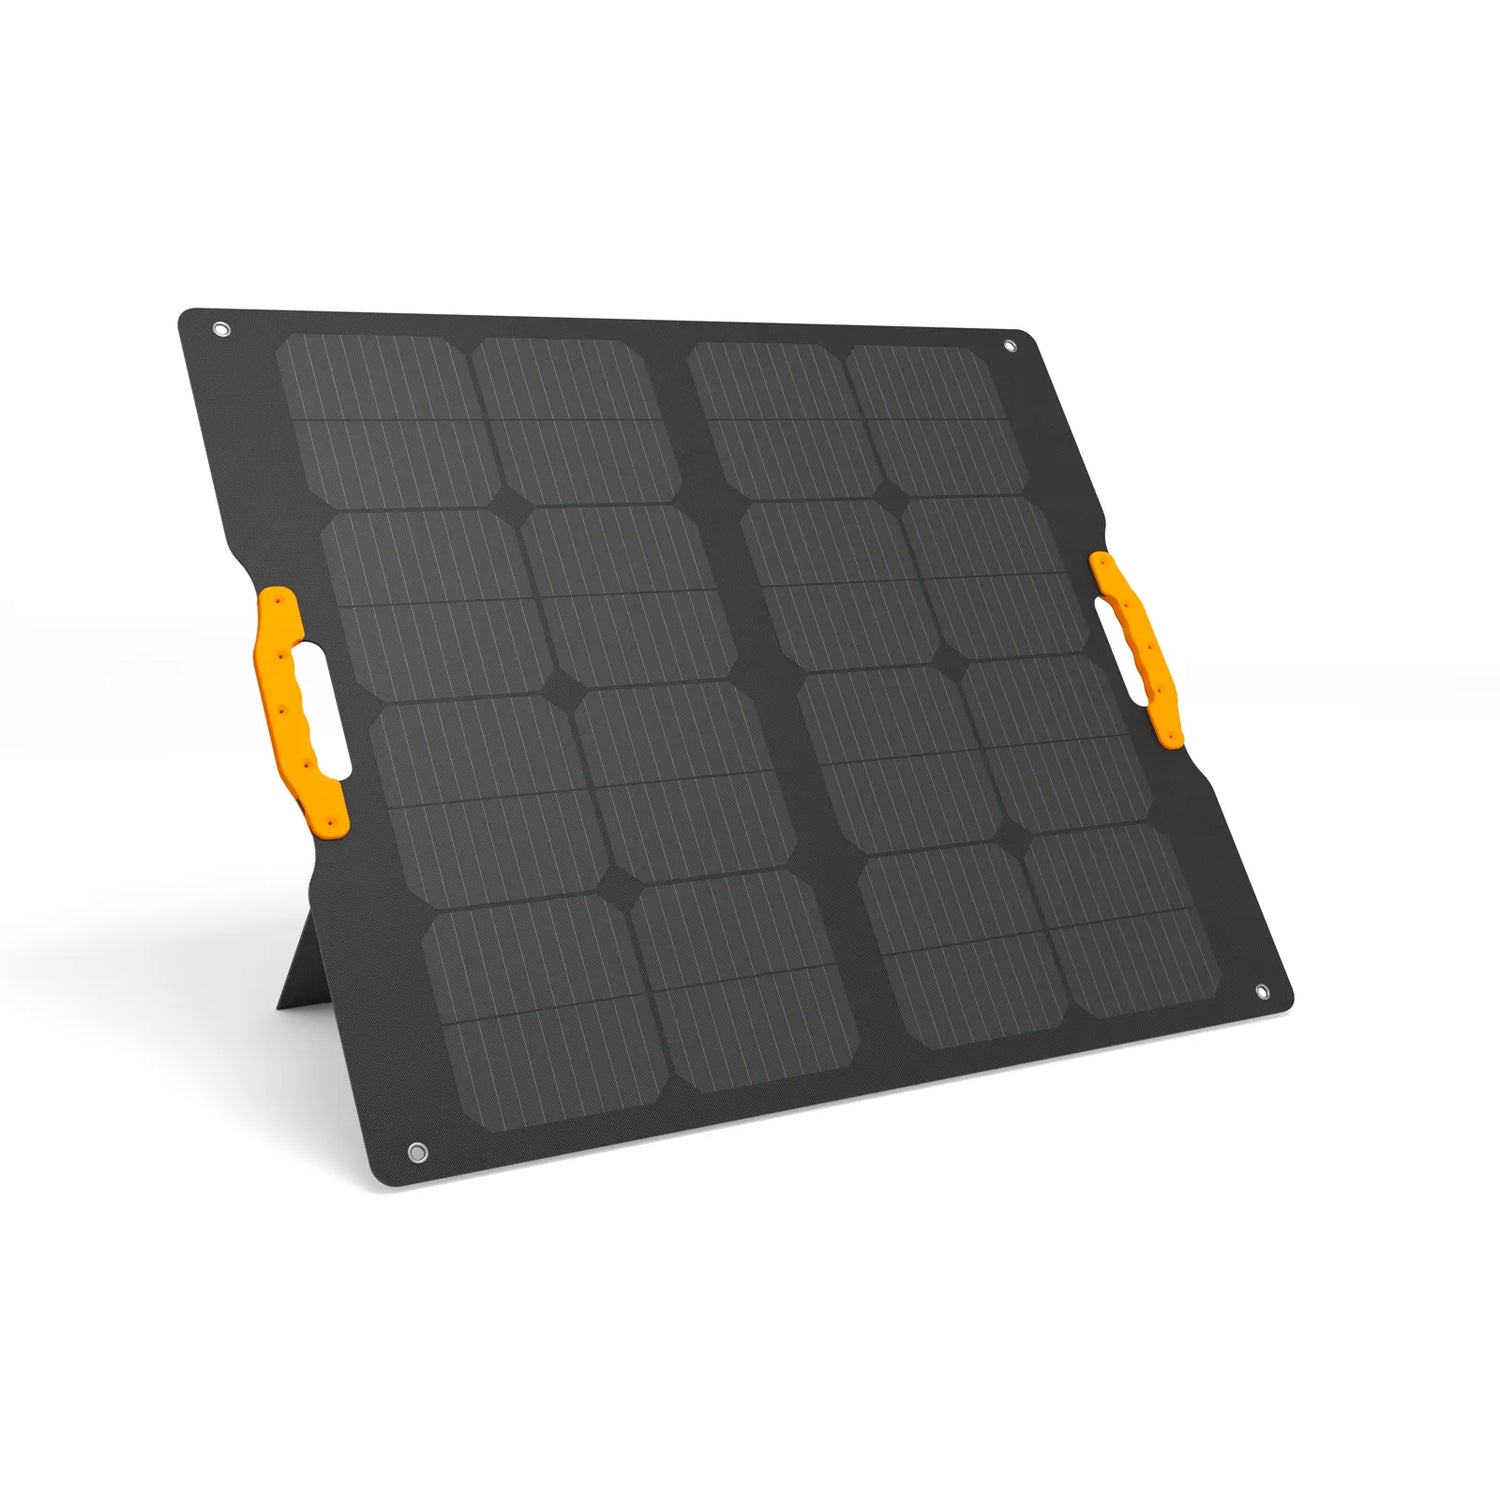
UDPOWER 120W Portable Solar Panel
This is the simple add-on that makes a camping power station more self-sufficient. If your site gets good daylight, a foldable panel is often the cleanest way to stretch a weekend setup without driving around looking for an outlet.
| Spec | Value | Why it helps at camp |
|---|---|---|
| Rated power | 120W | A practical size for weekend charging support. |
| Efficiency | ≥22% | Better sunlight conversion on limited camp hours. |
| Weight | 8.93 lb | Portable enough for car camping and flexible site placement. |
| Protection | IP65 | Better suited to outdoor use than delicate indoor gear. |
| Angle | 60°–90° adjustable | Lets you chase better sun through the day. |
Source: UDPOWER 120W panel product page
If you’re still deciding whether solar is worth carrying on a weekend trip or a longer off-grid stay, read Are Solar Panels Worth It for Camping? and Is It Worth Getting a Portable Solar Panel?. They help connect panel size, trip length, and realistic daily charging expectations.
Quick decision guide: what’s the easiest setup for your trip?
| Your trip style | Campfire advice | Best no-fire backup approach |
|---|---|---|
| First campground weekend | Use a small teepee or log cabin fire in a designated ring only. | Bring a compact power station for lights and charging so the fire can stay small. |
| Family car camping | Keep the fire modest and stop feeding it early enough for easy shutdown. | S1200 works well as the central power hub when the fire is out. |
| Dry season or windy conditions | Skip the fire if conditions feel questionable or restrictions are active. | Use battery lighting, camp stove where allowed, and layered clothing. |
| Longer off-grid weekends | Build only if conditions and rules are clearly favorable. | Add a foldable solar panel to keep your battery system topped up. |
For a quick reality check on battery sizing before your trip, use the runtime calculator or read the plain-English version in Battery Runtime Basics.
Camping fire FAQ
What is the easiest campfire shape for beginners?
A small teepee is usually the easiest way to get started because it gives the tinder and kindling good airflow. A log cabin is also very beginner-friendly if you want a steadier fire for hanging out or cooking.
Why won’t my camping fire stay lit?
The usual reason is one of three things: the wood is damp, the stack is too tight for airflow, or the larger logs were added before the small wood built enough heat.
Can I use wood I brought from home?
That’s often a bad idea. National Park Service guidance warns that moving firewood long distances can spread invasive pests. Buying wood where you burn it is the safer habit.
Is dirt enough to put out a campfire?
No. Official guidance says to use water, stir the embers, add more water, and keep going until everything is cool to the touch. Dirt or buried coals can still smolder.
What should I do if campfires are banned?
Shift to a no-fire plan: headlamps or lanterns for light, a camp stove where allowed for cooking, extra layers for warmth, and a quiet power station for charging and campsite convenience.
Final takeaway: the best camping fire is not the biggest one. It’s the one you can light with confidence, enjoy without stress, and leave completely cold behind you.
Related Articles