Emergency Light Guide: Types, Lumens, Placement, and Backup Runtime
This emergency light guide explains how to choose reliable lighting for power outages, including recommended light types, practical lumen ranges, room-by-room placement, battery options, and runtime calculations. It also covers common emergency lighting mistakes, maintenance schedules, long-outage energy-saving strategies, and backup power options for apartments, family homes, RVs, and storm-preparedness kits.
Last updated: July 24, 2026
Emergency lighting is not about making a powerless home look normal. It is about making stairs, hallways, bathrooms, bedrooms, exits, and essential work areas safe enough to use without wasting limited battery energy.
This emergency light guide explains which lights belong in a home blackout kit, how bright they should be, where to place them, how long they may run, and when a portable power station makes more sense than relying on small rechargeable batteries alone.
A practical home emergency lighting plan should include three layers: automatic plug-in lights that turn on when utility power fails, portable headlamps or flashlights for movement and inspection, and LED lanterns or USB lights for rooms and task areas.
Start with approximately 20–50 lumens for a hallway or bedside path, 100–300 lumens for general room lighting, and 200–500 lumens for cooking, repairs, or detailed tasks. Choose lights with a useful low mode, clear battery indicator, stable base or hanging hook, and at least one backup charging option.
Do not try to illuminate the entire house at full brightness. Light the routes and tasks that protect people first.

What Is an Emergency Light?
For a household, an emergency light is any dependable light source that remains available when normal lighting cannot be used. That may include a wall-plug light with automatic outage detection, a headlamp, a battery lantern, a USB-powered light, a rechargeable flashlight, or an outdoor-rated work light.
The best emergency light is not necessarily the brightest one. It is the light that is charged, easy to find, simple to operate, and able to run long enough for the situation.
This guide focuses on homes, apartments, garages, RVs, storm kits, and personal preparedness. Workplaces, schools, public buildings, and shared rental areas may have legally required exit lighting and inspection rules. OSHA requires workplace exit routes to remain adequately lighted and visible. Building owners should follow applicable local codes rather than treating portable lanterns as a substitute.
Source: OSHA Standard 1910.37
The three-layer emergency lighting system
Layer 1: Automatic route lighting
Plug-in outage lights or battery-backed night-lights should cover the first few seconds after power loss. Place them near stairs, hallways, bedrooms, and the main route to the bathroom.
Layer 2: Wearable and handheld lighting
Keep a headlamp or flashlight beside each bed. Headlamps are especially useful because they leave both hands free for carrying a child, helping a pet, checking a breaker panel, or moving supplies.
Layer 3: Area and task lighting
Use LED lanterns, USB lights, or portable lamps to illuminate occupied rooms, food-preparation areas, medical equipment, and communication stations. Run these at the lowest practical setting.
Best Types of Emergency Lights
| Light Type | Best Use | Main Advantage | Main Limitation | What to Look For |
|---|---|---|---|---|
| Automatic plug-in outage light | Hallways, stairs, bedrooms, bathrooms | Turns on without searching in the dark | Built-in battery may provide limited runtime | Auto-on mode, removable flashlight function, replaceable or tested battery |
| Headlamp | Walking, repairs, caregiving, breaker checks | Hands-free directional light | Narrower coverage than a lantern | Low mode, simple controls, comfortable strap, common battery type |
| LED lantern | Living rooms, kitchens, shelters, tents | Spreads light across a room | High mode can drain the battery quickly | Stable base, hanging hook, multiple brightness levels, long low-mode runtime |
| Rechargeable flashlight | Outdoor inspection, security checks, vehicle kit | Strong focused beam and long reach | Easy to misplace and less useful for lighting a room | USB-C charging, battery indicator, low mode, weather resistance |
| Replaceable-battery flashlight | Long outages and backup storage | Can be restored immediately with spare cells | Batteries can leak or expire in storage | Common AA or AAA batteries and easy battery access |
| USB or DC light | Power banks and portable power stations | Efficient for low-power, long-duration lighting | Requires a separate energy source | Low wattage, long cable, on-cord switch, warm or neutral light |
| Rechargeable work light | Garage, repairs, flood cleanup, outdoor tasks | Wide, bright task lighting | Often uses substantially more energy | Stable stand, adjustable angle, low mode, impact and water resistance |
| Solar lantern | Multi-day outages and outdoor recharging | Can recharge without grid power | Small built-in panels may charge slowly | USB charging backup, realistic charging time, replaceable battery when available |
Do not make every light dependent on the same battery, cable, outlet, or charging method. A strong kit combines one automatic outage light, one rechargeable light, and one light that accepts common replaceable batteries.
How Many Lumens Does an Emergency Light Need?
Lumens measure the amount of visible light a product emits. Watts measure how much electrical power it consumes. A higher-watt light is not automatically brighter, so compare lights by lumens when choosing brightness and by watts when calculating backup runtime.
The following ranges are practical household starting points rather than building-code requirements. Room size, wall color, beam pattern, mounting height, eyesight, and the type of task can all change the result.
| Emergency Task | Practical Starting Range | Recommended Light | Placement Advice |
|---|---|---|---|
| Bedside orientation | 10–30 lumens | Night-light or low flashlight mode | Keep within reach without getting out of bed |
| Hallway or bathroom route | 20–50 lumens per location | Automatic outage light or low lantern | Avoid glare directly at eye level |
| Stairs and changes in floor level | 30–100 lumens | Wide-beam light or fixed route light | Illuminate the steps, landing, and handrail area |
| Small room general lighting | 100–200 lumens | LED lantern | Place near the center or bounce light off a pale ceiling |
| Living room or family gathering area | 150–300 lumens | Lantern or two low-power lamps | Use more than one dim light to reduce harsh shadows |
| Food preparation | 200–500 lumens | Headlamp plus task light | Direct light onto the work surface, not across the room |
| Medication labels and first aid | 200–500 lumens | High-color-quality task light | Keep a dedicated light with medical supplies |
| Breaker panel or equipment inspection | 300–700 lumens | Headlamp or focused flashlight | Use both hands safely and avoid touching wet equipment |
| Outdoor property check | 300–1,000 lumens | Weather-resistant flashlight or work light | Use high mode briefly, then return to a lower setting |
For more information about how brightness is measured, see the FTC guide to shopping for light bulbs and ENERGY STAR brightness guide.
Why the highest brightness setting is rarely the best outage setting
Maximum output is useful for a short outdoor check or detailed repair, but it is inefficient for sitting, sleeping, walking through a familiar hallway, or waiting for utility service. A 500-lumen lantern used at full output may create glare and drain much faster than the same lantern on a 50- or 100-lumen setting.
During a long outage, the most valuable specification is often the tested runtime on low or medium mode—not the largest lumen number printed on the package.
Room-by-Room Emergency Lighting Plan
Bedrooms
- Place one headlamp or flashlight within reach of each sleeping area.
- Add an automatic outage light between the bed and the bedroom door.
- Avoid storing the only flashlight in a hall closet.
- Use controls that can be operated without reading small labels.
Hallways and stairs
- Place automatic lights at both ends of a long hallway.
- Illuminate the top and bottom of stairs rather than relying on one distant lantern.
- Keep shoes, cords, bags, and boxes out of the emergency walking route.
- Use wide, diffused light instead of a narrow beam that hides step edges in shadow.
Bathroom
- Use a low-level automatic light near the entrance.
- Keep electrical lights and power sources away from sinks, showers, and wet floors.
- Do not balance a lantern on a narrow counter where it can fall.
Kitchen
- Use a headlamp or directed task light when handling knives, hot food, or glass.
- Do not rely on a lantern placed behind your body, which creates a shadow over the work surface.
- Keep emergency lighting separate from cooking flames and hot cookware.
- Use bright task lighting only while preparing food, then return to a lower general setting.
Living room or family meeting area
- Choose one central room where people, charging equipment, information, and supplies are kept.
- Use two dim lights instead of one very bright lantern when possible.
- Position lights so they reflect from a wall or ceiling and reduce glare.
Garage, basement, and breaker panel
- Keep a dedicated flashlight or headlamp near the entrance—not inside the dark space.
- Use a magnetic, hanging, or standing work light for repairs.
- Never enter a flooded area or handle wet electrical equipment.
- Do not reset repeatedly tripping breakers without identifying the cause.
Homes with children, older adults, or limited mobility
- Prioritize continuous route lighting to the bathroom and exit.
- Choose lights with large buttons and simple low-medium-high controls.
- Avoid flashing modes during normal indoor use.
- Secure cords against walls and keep portable lights where they cannot become trip hazards.
- Place a light beside mobility devices, medications, glasses, hearing aids, and emergency contacts.
Emergency Light Buying Checklist
| Specification | Why It Matters | What to Choose |
|---|---|---|
| Low-mode runtime | Long outages are usually managed at lower brightness | Look for a clearly published runtime for each mode |
| Battery indicator | Prevents discovering an empty battery after the outage begins | Choose a percentage display or multi-level indicator |
| Charging connection | Common cables are easier to replace and share | USB-C is generally more convenient than a proprietary cable |
| Replaceable battery option | Provides immediate recovery when recharging is unavailable | Common AA, AAA, or user-replaceable rechargeable cells |
| Automatic outage activation | Provides immediate orientation when utility power fails | Use on critical routes, but confirm battery runtime |
| Beam pattern | A flashlight beam and a room lantern solve different problems | Wide beam for rooms; focused beam for inspection and distance |
| Mounting method | Prevents drops and keeps both hands free | Stable base, hook, magnet, clip, or adjustable stand |
| Weather resistance | Storm checks and cleanup may involve rain or splashing water | Check the manufacturer’s IP rating and usage limits |
| Control simplicity | Complex button sequences are frustrating in darkness | Easy access to low mode without cycling through strobe |
| Color and glare | Harsh light can make indoor movement uncomfortable | Warm or neutral diffused light for rooms; brighter focused light for tasks |
Open flames add a preventable fire risk at a time when people are moving through dark rooms and emergency services may already be busy. The American Red Cross recommends using flashlights instead of candles during an outage.
How to Calculate Emergency Light Runtime
Light output tells you how bright a light is. Power consumption tells you how quickly it uses stored energy. To estimate runtime from a power bank or portable power station, add the watts of every light that will run at the same time.
Estimated runtime in hours = battery capacity in watt-hours × 0.90 ÷ total lighting watts
The 90% factor provides a practical conversion allowance. Real runtime can still be lower because of inverter standby consumption, wiring losses, temperature, battery condition, automatic shutdown settings, and other connected devices.
Example emergency lighting loads
| Lighting Setup | Total Load | Energy for 8 Hours | Energy for 24 Hours | Best Use |
|---|---|---|---|---|
| Two 3W route lights | 6W | 48Wh | 144Wh | Hallway, stairs, and bathroom access |
| Four 5W USB or LED lights | 20W | 160Wh | 480Wh | Several occupied rooms at moderate brightness |
| Lights, router, and periodic phone charging | About 35W | 280Wh | 840Wh | Basic communication and lighting station |
| Bright work light and room lanterns | 50W | 400Wh | 1,200Wh | Short repair or cleanup periods |
Why direct USB or DC lighting may last longer
A portable power station must turn on its inverter to supply a normal AC outlet. At very small loads, the inverter’s own operating consumption can become a meaningful part of the total energy use.
When compatible lighting is available, powering low-watt USB or DC lights directly can avoid keeping the AC inverter active for a tiny load. This is particularly useful when lighting is the only thing you need overnight.
Use direct USB lights for continuous route and room lighting. Turn on the AC output only when you need an AC lamp, appliance, medical device, or other equipment.
For a deeper explanation of watts, watt-hours, and usable battery energy, see Battery Runtime Basics: Watts to Watt-Hours.
UDPOWER Backup Options for Emergency Lighting
Emergency lights themselves use relatively little power, so battery capacity usually matters more than maximum AC output. The right station depends on whether you are powering lights only or combining lighting with phones, internet equipment, a CPAP machine, a fan, or refrigeration.
| UDPOWER Model | Official Capacity | Estimated Runtime at 6W | Estimated Runtime at 20W | Estimated Runtime at 35W | Official Source |
|---|---|---|---|---|---|
| C400 | 256Wh | About 38.4 hours | About 11.5 hours | About 6.6 hours | C400 specifications |
| C600 | 596Wh | About 89.4 hours | About 26.8 hours | About 15.3 hours | C600 specifications |
| S1200 | 1,190Wh | About 178.5 hours | About 53.6 hours | About 30.6 hours | S1200 specifications |
Runtime estimates use capacity × 90% ÷ load watts. They are planning estimates, not guaranteed results. Very small AC loads may experience proportionally greater inverter overhead.

UDPOWER C400: Best for a Compact Lighting-First Kit
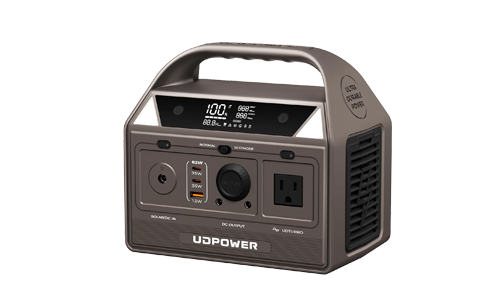
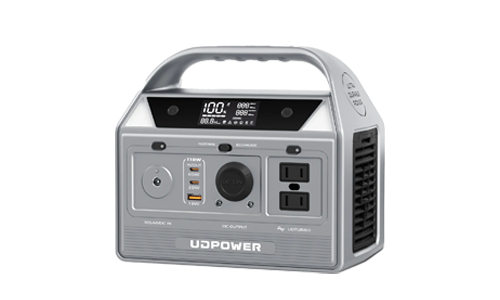
The C400 is a practical choice when the main goal is emergency lighting, phone charging, and small personal electronics. Its 256Wh LiFePO4 battery is much larger than a normal phone power bank while the unit remains easy to carry between rooms or store in a vehicle kit.
- 256Wh LiFePO4 battery
- 400W rated AC output
- Two AC outlets
- USB-C, USB-A, DC, and 12V output options
- 4,000+ cycle rating listed on the official product page
- Best for route lights, room lights, phones, and short outages

UDPOWER C600: Best for Lighting Plus Communication
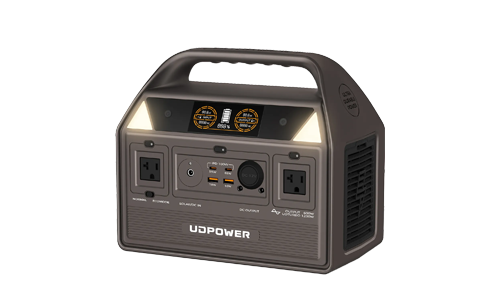
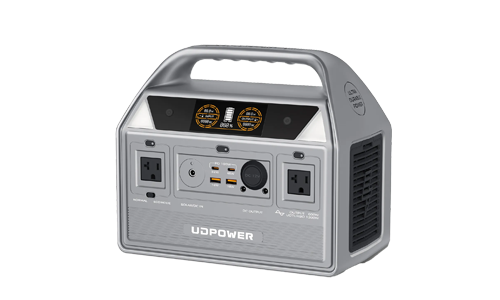
The C600 provides a larger 596Wh battery for several rooms, longer overnight lighting, phone charging, laptops, and internet equipment. It is a sensible middle option for an apartment, small home, storm kit, or family communication station.
- 596Wh LiFePO4 battery
- 600W rated output and up to 1,200W peak output
- Two AC outlets
- USB-C, USB-A, and 12V output options
- 4,000+ cycle rating listed on the official product page
- Best for several lights, phones, a router, and small electronics
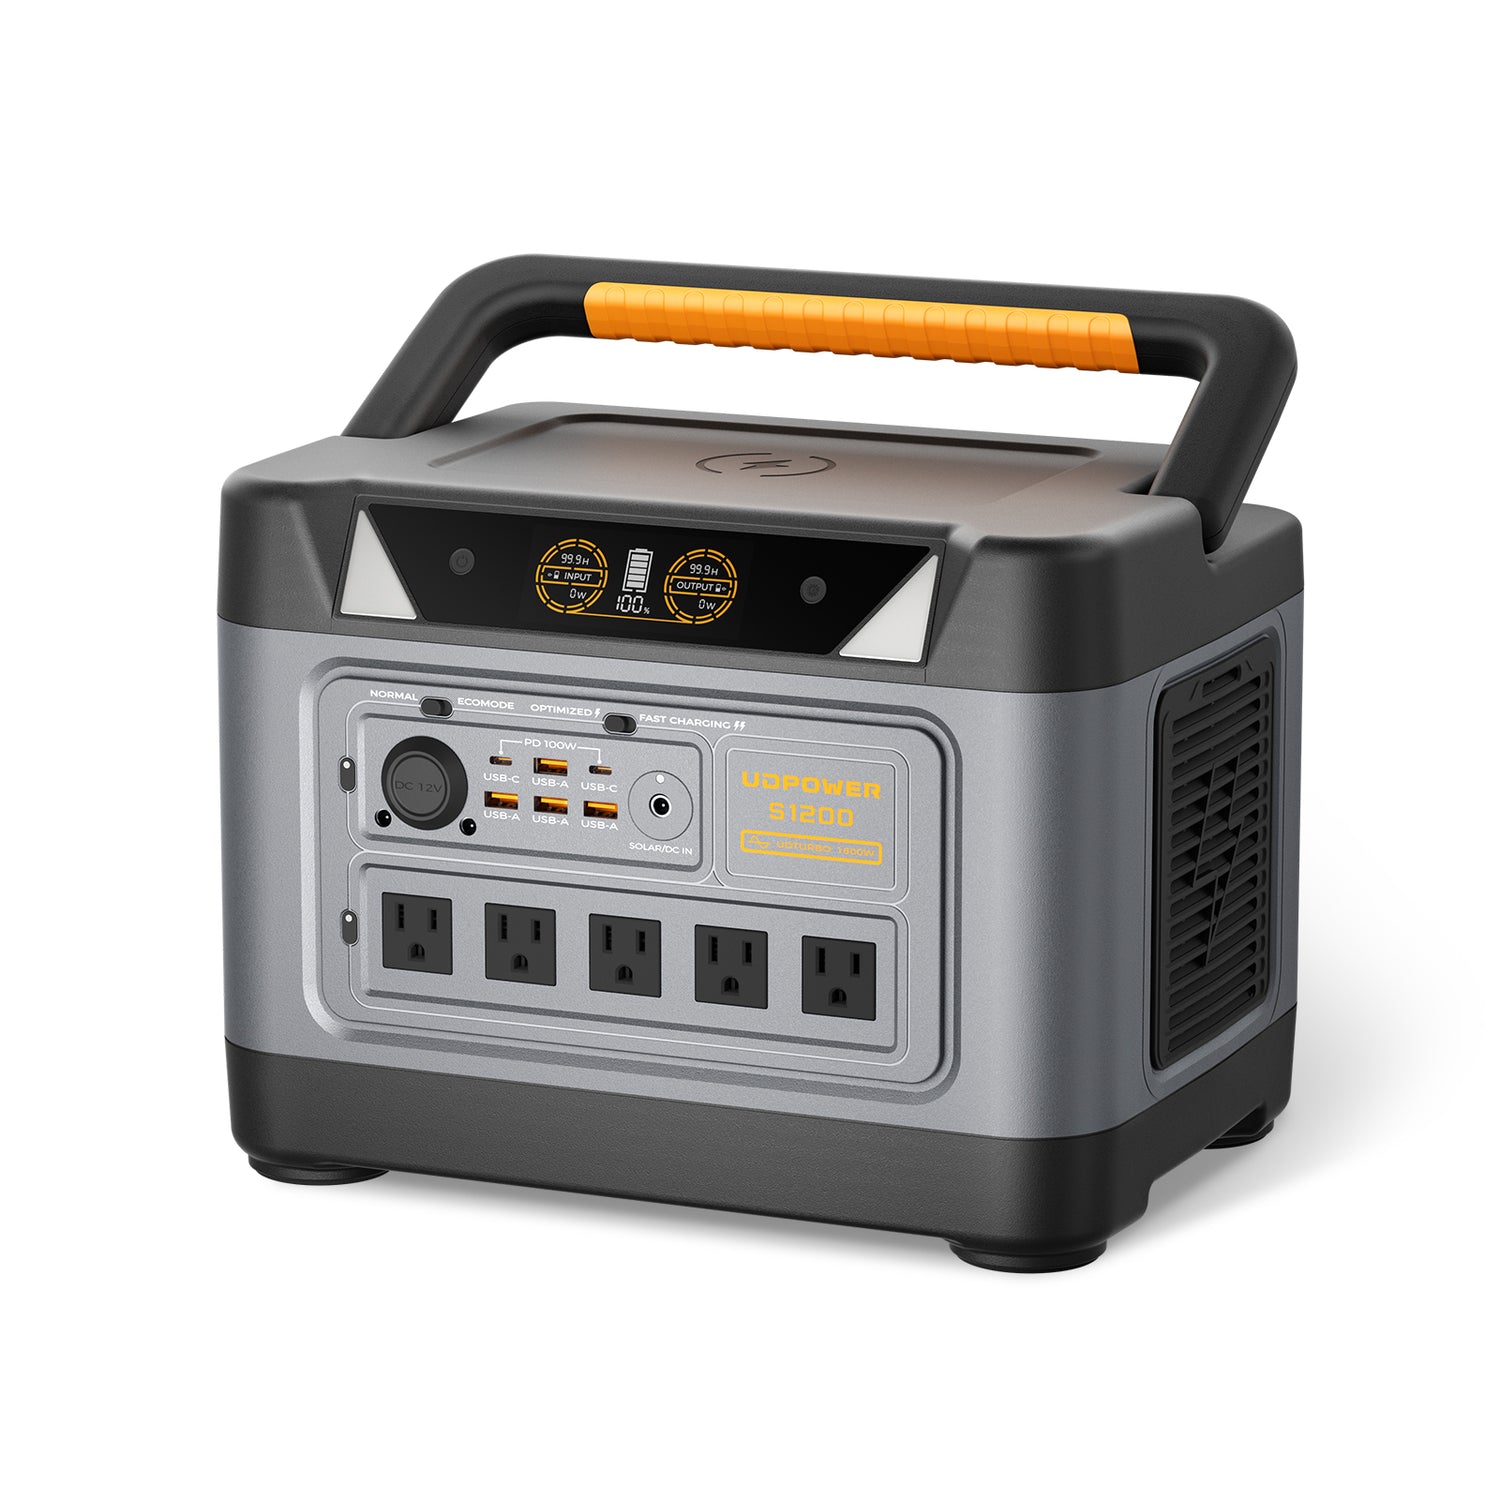
UDPOWER S1200: Best for Lighting Plus Broader Home Essentials
The S1200 makes more sense when lighting is only one part of the emergency plan. Its 1,190Wh battery can support lights alongside phones, Wi-Fi equipment, laptops, fans, many CPAP setups, and selected household essentials within the unit’s output limits.
- 1,190Wh LiFePO4 battery
- 1,200W rated pure sine wave output
- UDTURBO support up to 1,800W for compatible higher-startup loads
- Five AC outlets plus multiple USB and DC outputs on the current 5-AC version
- UPSPRIME switchover listed at under 10 milliseconds
- 4,000+ cycle rating and five-year warranty
- Best for family outages and a broader essentials-first backup plan
How to Stretch Emergency Lighting Through a Long Outage
1. Light movement routes before entire rooms
The route between bedrooms, bathrooms, stairs, the main exit, and the family gathering area should receive power first. A few low-watt lights in the right places are safer and more efficient than one bright lantern in a distant room.
2. Create one occupied living zone
During a longer outage, gather people, charging equipment, supplies, and information in one main room. Close unused rooms and avoid spending energy lighting the whole house.
3. Use task lighting only while the task is happening
A kitchen work light, outdoor spotlight, or repair lamp should be turned on for the task and switched off afterward. Continuous high-brightness operation can use several times more energy than low-area lighting.
4. Reserve a separate light for overnight movement
Do not drain every lantern during the evening. Keep at least one charged light specifically for midnight bathroom trips, medical needs, an evacuation, or an unexpected problem.
5. Separate lighting from high-draw appliances
A portable heater, electric kettle, microwave, hair dryer, or large cooking appliance may consume in minutes what emergency lights use over many hours. Prioritize loads instead of running everything at once.
Use the Power Priorities: What to Run First guide to build an essentials-first load plan.
6. Lower the brightness before buying a larger battery
Moving a lantern from high to low may extend runtime more effectively than adding another small battery. Test the lowest setting that still allows safe movement and task completion.
7. Recharge during the day when possible
For multi-day outages, solar input can replenish lighting, communication, and phone-charging energy during daylight. Solar output varies with weather, panel angle, shade, temperature, and the power station’s input limit, so do not assume the panel will produce its full label wattage all day.
See Solar Recharging During a Power Outage for a practical daytime recovery plan.
Emergency Lighting Plans by Home Type
Small apartment
- Two automatic plug-in outage lights
- One headlamp per adult
- One 100–300 lumen lantern
- One replaceable-battery flashlight
- USB charging cables stored with the lights
- C400 or C600 when longer lighting and phone charging are needed
Family home
- Automatic lighting at bedrooms, stairs, hallways, and the main bathroom route
- Headlamps for adults and age-appropriate lights for children
- Two room lanterns rather than one shared lantern
- One weather-resistant outdoor flashlight
- One dedicated medical or first-aid task light
- C600 for a smaller essentials station or S1200 for broader backup
Older adult or limited-mobility household
- Continuous low-level route lighting from bed to bathroom and exit
- Large-button lights that do not require complex mode cycling
- A wearable light attached to a mobility aid or kept beside it
- Backup lighting beside medication, glasses, hearing aids, and the phone
- A power plan tested before the outage rather than assembled during it
Storm, hurricane, or rural outage kit
- Indoor lanterns plus a weather-resistant outdoor flashlight
- Replaceable batteries stored in their original packaging
- USB-C rechargeable lights and clearly labeled cables
- Portable power station stored indoors in a dry, accessible location
- Compatible solar panel for daytime charging during extended outages
- Printed utility, medical, neighbor, and emergency contact information
RV or vehicle kit
- Magnetic or hanging work light
- Headlamp for roadside inspection
- Low-power cabin light
- Flashlight stored where it can be reached from the driver’s seat
- Lights secured so they do not become loose objects while driving
- Charging plan that does not drain the vehicle starter battery
Emergency Light Testing and Maintenance Schedule
| When | What to Check | Why |
|---|---|---|
| Monthly | Turn on each critical light and verify controls, battery indicator, and automatic outage function | Finds dead batteries and failed switches before an emergency |
| Every three months | Recharge stored lights and inspect cables, ports, battery compartments, and contacts | Reduces the risk of empty batteries, corrosion, or missing cables |
| Twice a year | Run a realistic evening outage drill using low and medium modes | Shows whether placement and runtime work for the household |
| Before severe weather season | Fully charge equipment, replace weak cells, and move lights to assigned locations | Avoids last-minute searching and charging |
| After every outage | Recharge all lights and the portable power station as soon as conditions are safe | Restores readiness for a second outage |
A five-minute blackout drill
- At night, switch off normal room lighting without warning the household where each portable light is located.
- Confirm that automatic route lights activate.
- Have each person retrieve their assigned light.
- Walk the route to the bathroom, main exit, emergency kit, and family meeting area.
- Check for dark stairs, glare, cords, unstable lantern placement, and difficult controls.
- Correct the setup before restoring normal lighting.
Common Emergency Lighting Mistakes
Buying one extremely bright flashlight
A powerful flashlight is useful outdoors but cannot safely cover bedrooms, stairs, the bathroom, and a family gathering area at the same time.
Storing every light in one emergency bin
An emergency bin is helpful, but the first light must be available before anyone walks through a dark house to find that bin.
Comparing lights only by maximum lumens
Maximum output does not tell you low-mode runtime, beam quality, control simplicity, battery condition, or whether the light will remain stable on a table.
Depending entirely on rechargeable batteries
Rechargeable lighting is convenient, but a long outage can outlast small internal batteries. Keep at least one light that accepts common replaceable batteries or can be powered from a larger backup source.
Leaving every AC lamp on
Normal household lamps may be less efficient than small emergency LED lights, and keeping the AC inverter active for a tiny load can add overhead. Use direct USB or DC lights where practical.
Running high mode all evening
High mode is for short tasks. Use low or medium output for general lighting and save high output for inspection, cleanup, or safety-critical work.
Ignoring the cable and charging system
A working light with a missing proprietary cable is not a dependable emergency light. Label charging cables and store them with the equipment they support.
Putting lights where they create glare
A lantern at eye level can make it harder to see dark steps and obstacles. Place diffused lights below eye level or bounce light from a pale wall or ceiling.
Using electrical equipment near water
Keep lights, extension cords, chargers, and portable power stations away from wet floors, leaking roofs, sinks, tubs, and floodwater.
Emergency Light FAQ
How many lumens should an emergency light have?
About 20–50 lumens can be enough for a hallway or bedside route, while 100–300 lumens is a practical range for general room lighting. Cooking, first aid, repairs, and outdoor inspection may need 200–1,000 lumens depending on the task. Use the lowest setting that provides safe visibility.
How many emergency lights should a home have?
There is no single number for every home. At minimum, provide lighting for each sleeping area, the route to the bathroom, stairs, the main exit, and one occupied room. Larger or multi-level homes need additional route lights and portable lights.
Is a lantern better than a flashlight during a power outage?
A lantern is better for lighting a room, while a flashlight is better for distance and inspection. A headlamp is often best for movement and hands-free tasks. A complete kit should include more than one type.
How long should an emergency light last?
For home preparedness, choose enough combined lighting capacity to cover at least one full night, then add reserve for a longer outage. The required runtime depends on brightness, battery size, the number of lights, and whether daytime recharging is available.
Are rechargeable emergency lights better than battery-powered lights?
Rechargeable lights are convenient and reduce disposable battery use, but replaceable-battery lights provide useful redundancy during long outages. The strongest kit includes both.
Should I use candles when the power goes out?
No. Flashlights and battery-powered lights are safer. Open flames can be knocked over, left unattended, or placed near combustible materials. The American Red Cross recommends flashlights instead of candles during an outage.
Can a portable power station run emergency lights?
Yes. LED lights have relatively low power consumption, so a portable power station can often run several lights for many hours. Use battery capacity in watt-hours, not only the station’s output rating, to estimate runtime.
Should I use AC, USB, or DC emergency lights with a power station?
USB or DC lights are often a good choice for very low continuous loads because they may avoid AC inverter overhead. AC lamps remain useful when they provide better task lighting or are already available.
Where should emergency lights be stored?
Store the first lights where people can reach them without walking through darkness: beside beds, near stair entrances, along the bathroom route, and near the main exit. Additional lanterns and batteries can remain in the emergency supply area.
How often should emergency lights be tested?
Perform a quick function check monthly, recharge and inspect them every few months, and run a realistic outage drill twice a year or before the severe-weather season in your area.
What color temperature is best for an emergency light?
Warm or neutral white light is usually comfortable for rooms and nighttime movement. Cooler light may improve perceived contrast for detailed tasks, but it can also feel harsh. Beam pattern and glare control often matter more than the exact color temperature.
Can home lanterns replace commercial emergency exit lights?
No. Portable home lights are not a substitute for required workplace, school, public-building, or shared-area emergency lighting. Those systems may be subject to building, fire, workplace, and local inspection requirements.
Build an Emergency Lighting Plan Before the Next Outage
Start by mapping bedrooms, stairs, hallways, bathrooms, exits, and the room your household will occupy. Then calculate the wattage of the lights and essential devices you expect to run at the same time.
View Portable Power Station Options Shop Home Backup Power Stations Get the 24/48/72-Hour Outage GuideSources and Further Reading
- American Red Cross — Power Outage Safety
- Federal Trade Commission — Shopping for Light Bulbs
- ENERGY STAR — Learn About Brightness
- Occupational Safety and Health Administration — Exit Route Lighting Requirements
- UDPOWER C400 Official Product Specifications
- UDPOWER C600 Official Product Specifications
- UDPOWER S1200 Official Product Specifications
Related Articles